This guide is currently for the i7 EU model with MX150. This blog post is only for personal reference.
Official Matebook X Pro (MACH-W29) Support Page
Credits
- Install macOS Mojave on Any Supported Intel-based PC
- Booting the OS X installer on LAPTOPS with Clover
- Guide to fresh installing macOS Mojave on a Hackintosh
- Mac OS Mojave Hackintosh Clover Walkthrough 10.14 Install
- Darren_Pan’s guide for Mojave
- Darren_Pan’s GitHub Rep
- gnodipac886’s guide for Mojave 10.14.3 Update
- gnodipac886’s GitHub Rep
My Matebook X Pro’s Hardware Configuration
- CPU i7-8550U @ 1.8GHz
- 8 GB RAM
- Nvidia GTX MX 150 / Intel UHD 620
- 3k Display @ 3000 x 2000
- 512 GB LiteON SSD
Requirements
- USB Mouse
- USB 8+ GB flash drive for installing Mojave
- USB flash drive for “post install stuffs”
Step 1 - Creating a bootable USB for installing Mojave
I - macOS Mojave on VMware on Windows PC
First we need to be in a mac OS environment, so we will need to create a virtual machine. Adhere to this guide to get started.
II - Downloading the bootloader and Mojave Installer
Now that we are in a Mac environment, we will download our core tools to make the USB installer.
- First, download the Mac OS Mojave Installer: Install macOS Mojave.app.zip
- Next, download the clover boot loader from this link: Clover EFI bootloader
III - Getting your USB ready
We will format the USB correctly with the use of terminal. In terminal, type:
diskutil list
This will provide a list of all disks and related partitions. Find out what your USB is named. It’s probably something like /dev/disk3s0
In terminal, type (# refers to a comment line):
# repartition /dev/disk3 MBR, two partitions
# first partition, "CLOVER EFI" FAT32, 200MiB
# second partition, "install_osx", HFS+J, remainder

diskutil partitionDisk /dev/disk3 2 MBR FAT32 "CLOVER EFI" 200Mi HFS+J "install_osx" R
The output should look something like this:
Started partitioning on disk3
Unmounting disk
Creating the partition map
Waiting for the disks to reappear

Formatting disk3s1 as MS-DOS (FAT32) with name CLOVER EFI
512 bytes per physical sector
/dev/rdisk3s1: 403266 sectors in 403266 FAT32 clusters (512 bytes/cluster)
bps=512 spc=1 res=32 nft=2 mid=0xf8 spt=32 hds=32 hid=2 drv=0x80 bsec=409600 bspf=3151 rdcl=2 infs=1 bkbs=6
Mounting disk

Formatting disk3s2 as Mac OS Extended (Journaled) with name install_osx
Initialized /dev/rdisk3s2 as a 7 GB case-insensitive HFS Plus volume with a 8192k journal
Mounting disk

Finished partitioning on disk3
/dev/disk3 (external, physical):

#: TYPE NAME SIZE IDENTIFIER

0: FDisk_partition_scheme *8.0 GB disk3
1: DOS_FAT_32 CLOVER EFI 209.7 MB disk3s1
2: Apple_HFS install_osx 7.8 GB disk3s2
Now, on the desktop, you should have 2 USB partitions:
- one will be named CLOVER EFI
- the other Install_OSX
We need to set the bootloader for the USB using Clover EFI bootloader
- click “Change Install Location” and change it to CLOVER EFI
- click “Customize”
- you need to select the following:
- Install for UEFI booting only
- under themes, select BGM
- under “Drivers64UEFI” we need to select the following:
- OsxAptioFIxDrv-64.efi
- ApfsDriverLoader-64.efi
- VboxHfs-64.efi
- After your done with these, select “Install”
- when it is done installing, open up the partition on the USB named CLOVER EFI
Download the CLOVER folder from Darren_Pan’s GitHub Rep
Open up CLOVER EFI and then click EFI. There should already be a CLOVER folder there. Replace it with the one you just downloaded.
Warning: For LiteOn SSD, you need to add this to the kextstopatch section:
<dict>
	<key>Comment</key>
	<string>IONVMeFamily: Ignore FLBAS bit:4 being set - for Plextor/LiteOn/Hynix</string> <key>Disabled</key>
	<false/> <key>Name</key>
	<string>IONVMeFamily</string>
	<key>Find</key>
	<data>ikga9sEQ</data>
	<key>Replace</key>
	<data>ikga9sEA</data>
</dict>
Now that the boot-loader’s done, we need to get the Mojave installer on the SSD. Unzip Install macOS Mojave.app.zip file on to tha Desktop. Go back to terminal and type:
# copy installer image
sudo -s
"Install macOS Mojave.app/Contents/Resources/createinstallmedia" --volume /Volumes/install_osx --nointeraction
Then rename the partition with the line:
# rename
sudo diskutil rename "Install macOS Mojave" install_osx
You have now made your bootable USB for installing macOS Mojave.
Step 2 - Partitioning internal SSD for Dual Boot (Mojave + Windows 10)
Step 3 - BIOS settings and Booting the USB
Step 4 - Installing macOS Mojave
Selecting a partition for macOS
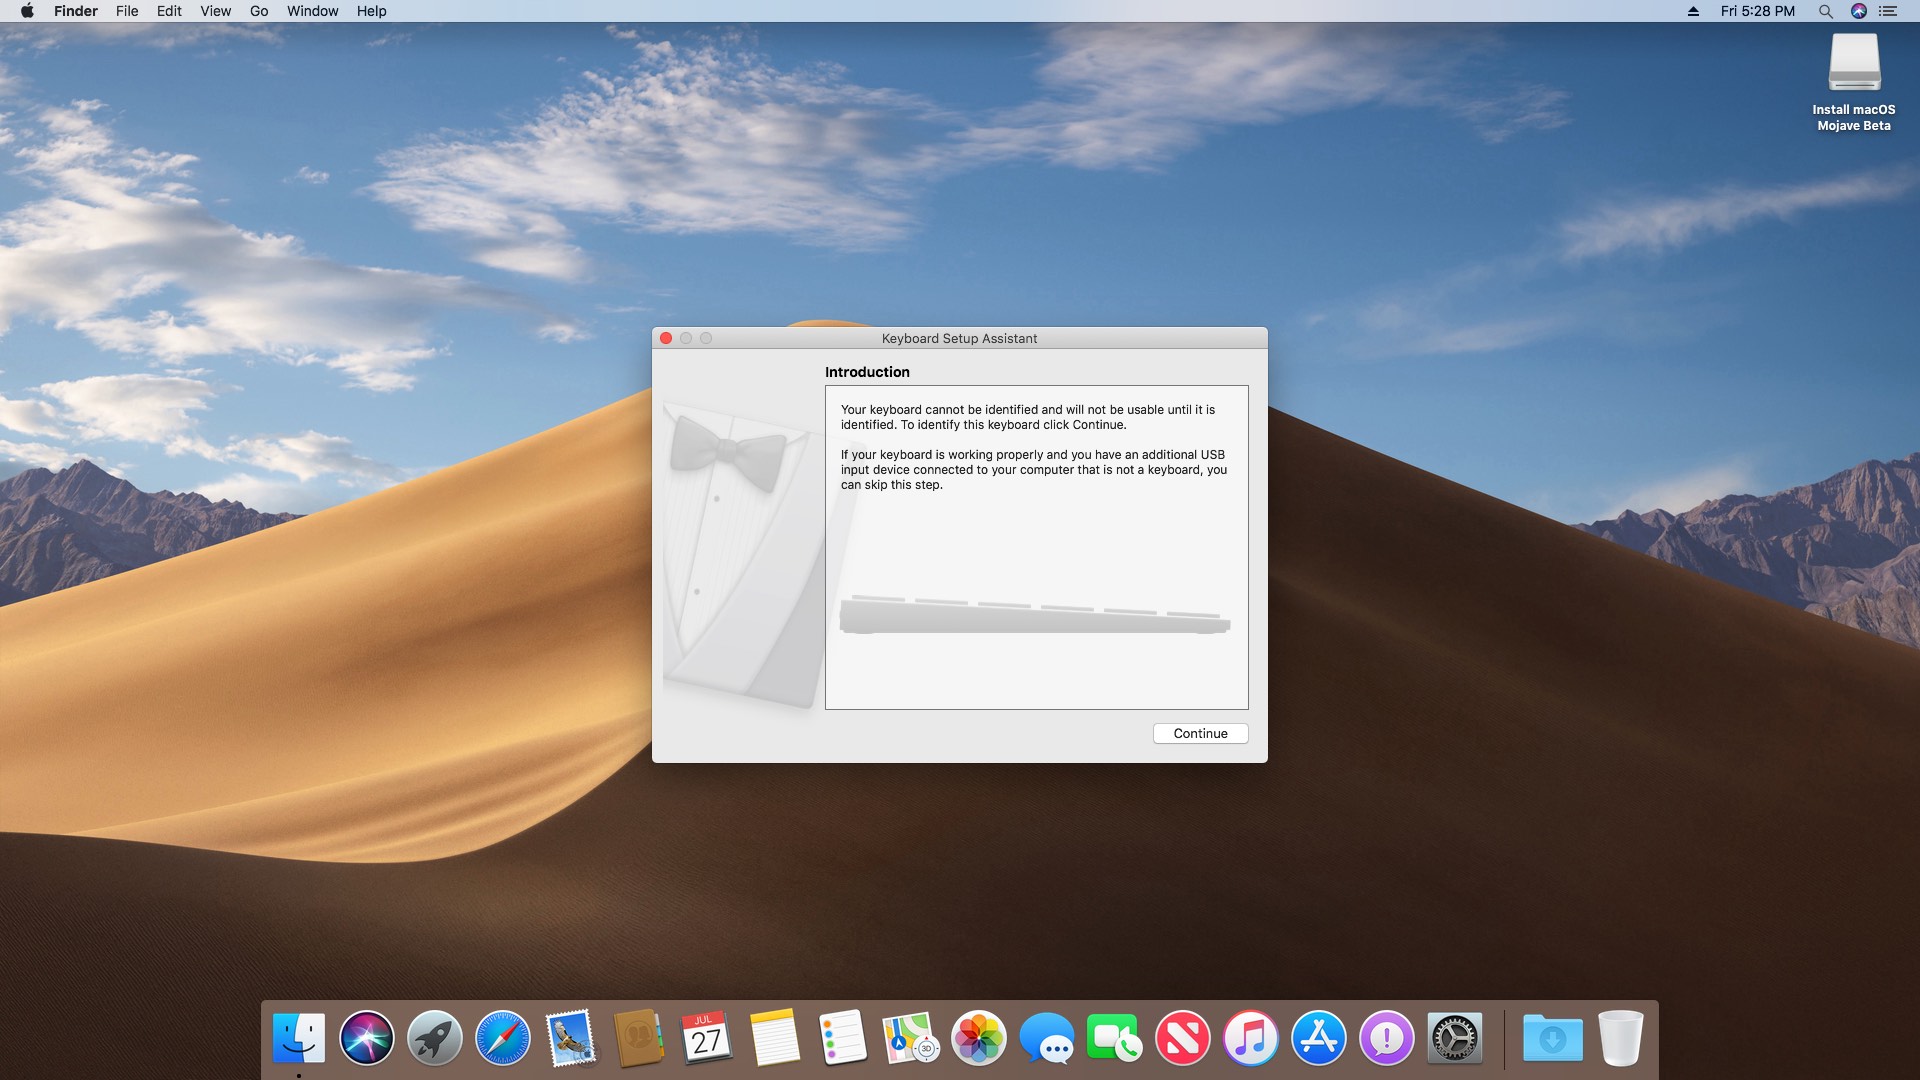
- Prepare a USB mouse.
- Use arrow keys to move the cursor to the installer and press enter: it should take a while to boot up so give it some time.
- If it doesn’t boot up:
- boot back to the USB
- use your arrow keys to go all the way down to “Options”
- click on it and use your arrow keys to navigate down to “Graphics Injector”
- click on it and scroll all the way down to “FakeID”: press enter once and put in
0x12345678 - once you are done, press enter again to be able to navigate
- you also want to make sure “InjectIntel” is checked for this.
- Now you should be in the installer screen: click Disk Utility.
- Select the disk named Hackintosh and, then, format it to “Mac OS X Extended (Journaled)”.
- Now exit out of it and select the install button. Agree to the terms and let it do its thing.
Install macOS
The installation is a 2 part process:
- Once the computer reboots, it will go back to the clover bootloader. This time, you will select “Boot macOS install from…” or it may say “Boot OS X from Hackintosh”. Now it may or may not reboot again.
- If you get back to the clover screen, select “Boot OS X from Hackintosh”.
Warning: if it doesn’t boot, just use the “FakeID” method: this will just load the OS without a GPU for the time being.
Now, once you set everything up, you should be in macOS Mojave.